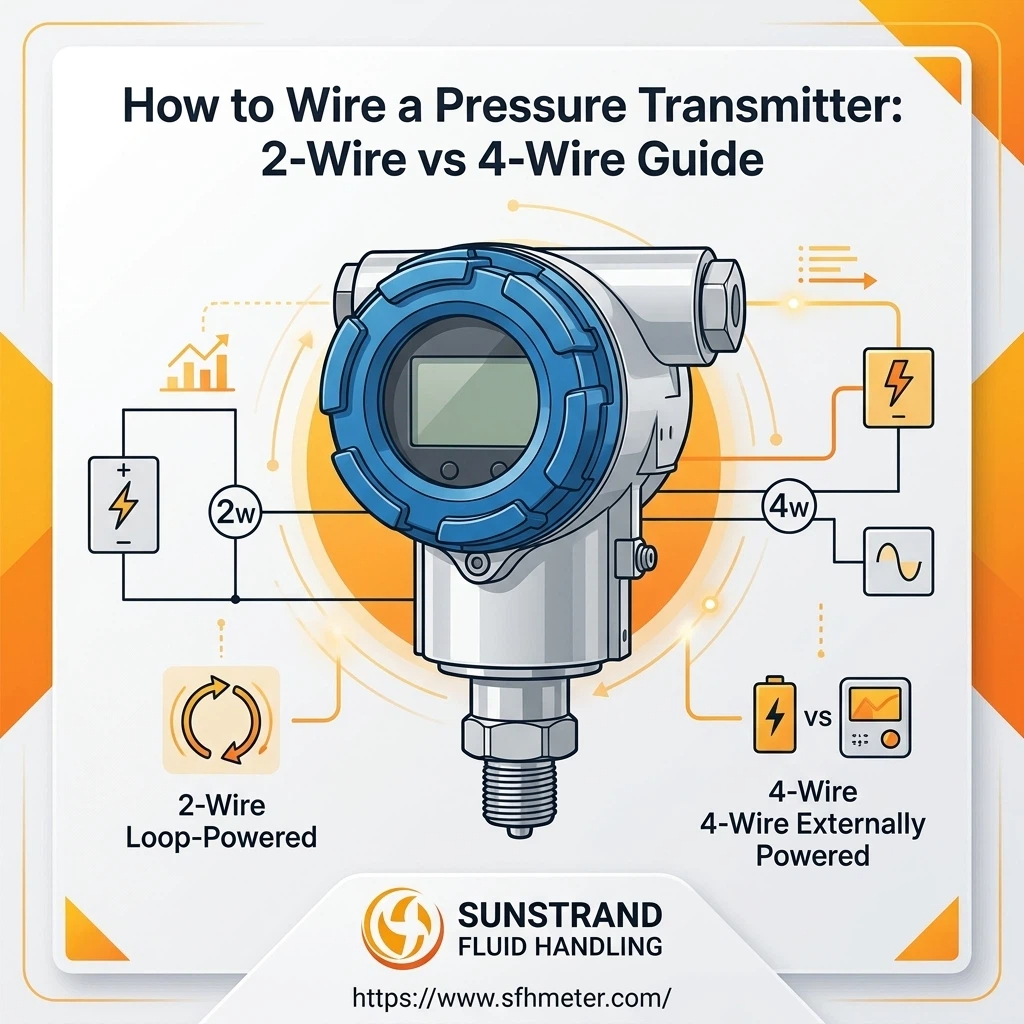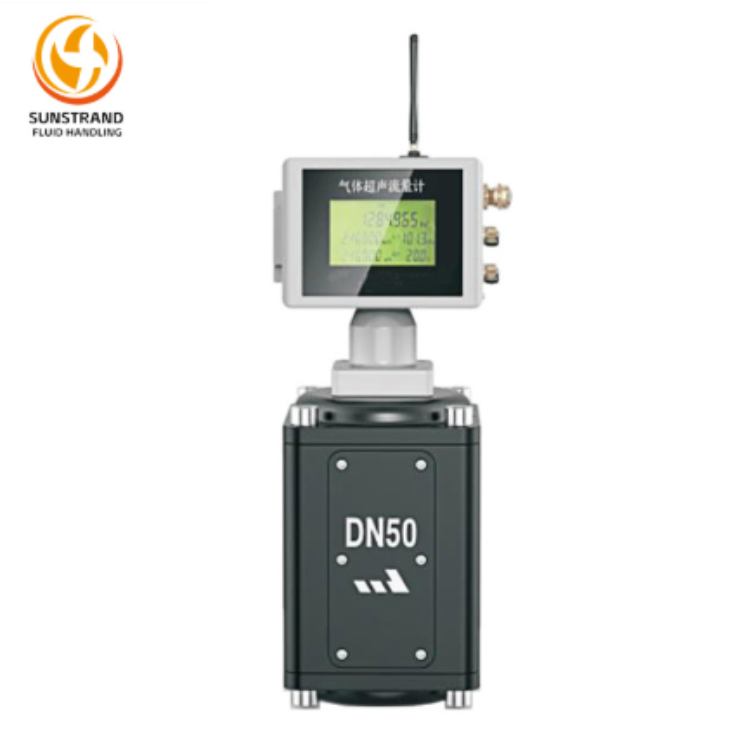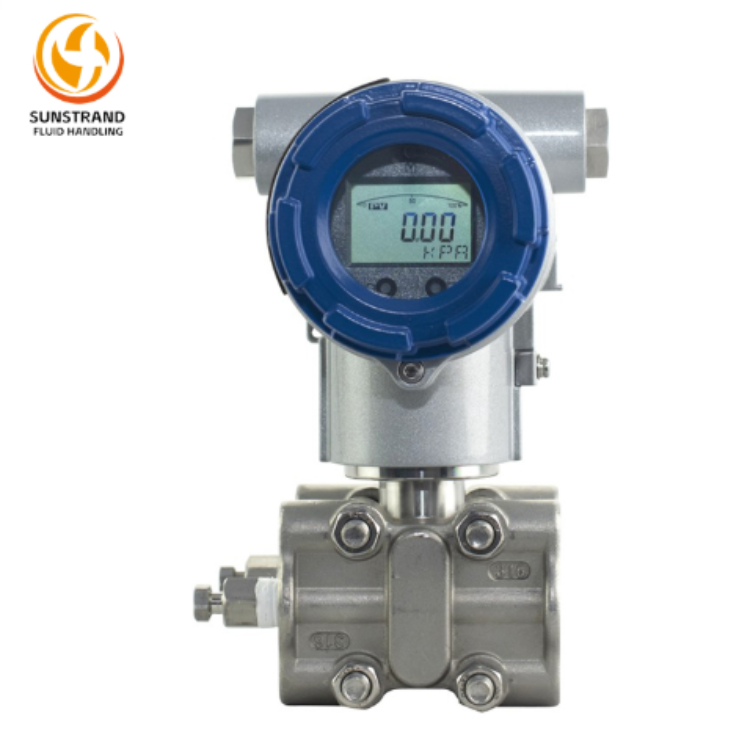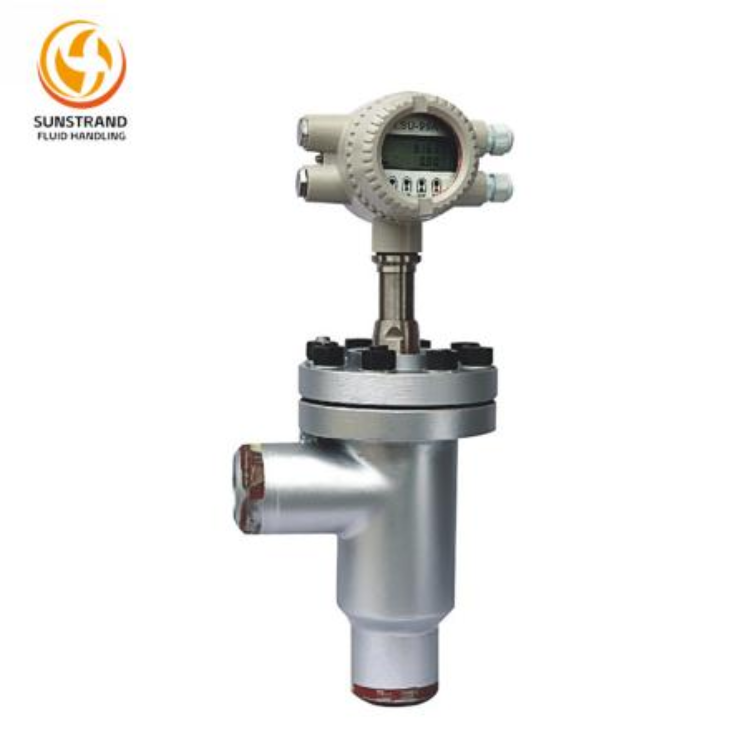

In industrial process control systems, pressure transmitters play the role of the “nerve endings”, converting the pressure of gases, liquids or steam into standardized signals and providing real-time monitoring and control of the engineering. These transmitters are widely used in the petrochemical, power, water treatment and pipeline industries, and play an important role in operational safety, product quality and overall efficiency.
However, harsh industrial environmental conditions such as extreme temperatures, corrosion, vibration and pollution can affect accuracy, potentially leading to signal or equipment failures, increased costs and unexpected stops. According to industry data, 40% of process control system failures are due to inadequate maintenance of pressure transmitters. The purpose of this guideline is to maximize the accuracy, reliability and lifespan of pressure transmitters, while enabling technical experts, tool operators and engineers to implement effective maintenance and warranty strategies.
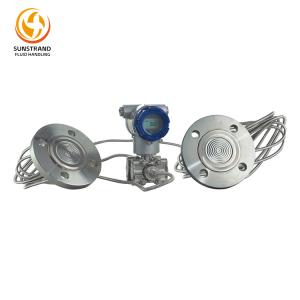
The pressure transmitter is a highly precise industrial device that converts the pressure of machinery into electronic signals, and records and remotely controls the pressure through monitoring. Unlike the common pressure gauges that only provide visual pressure readings on-site, the transmitter can transmit real-time data to the central control system, becoming an important component of the automation of engineering control systems. The basic structure is roughly composed of three main components: a sensing element that can detect pressure changes, a signal conditioning circuit that converts mechanical signals into standard electrical outputs, and a housing that protects the internal components from environmental damage.
Pressure transmitters are classified according to their measurement principles, applications, and designs. The most common types are absolute pressure transmitters, gauge pressure transmitters, and differential pressure transmitters, which are widely used in the industrial field for measuring flow and controlling liquid states. Modern transmitters are equipped with advanced communication technologies such as HART, Modbus, and Profibus, allowing for remote setting, diagnosis, and calibration. Sunstrand is a representative enterprise in industrial automation equipment, producing pressure transmitters with high-precision diffusion silicon and capacitive sensitive elements. The reference scale has an error of ±0.075%, a return ratio of 100:1, a working range from -40°C to 85°C, and can be used in extreme environments. Most importantly, all pressure gauges require regular management by maintenance personnel for long-term use and reliability.
Effective maintenance of pressure transmitters requires thorough pre-work preparations. Rushing through maintenance without proper planning may lead to safety risks, equipment damage or incomplete inspections. At this stage, technicians must ensure they have the necessary tools, meet safety conditions, and have a clear understanding of the current status of the transmitters before starting the work.
When using pressure transmitters, safety is of utmost importance. Especially in industrial settings, these devices are connected to high-pressure systems, hazardous media, or high-voltage circuits. Before conducting maintenance and servicing, experts should meet the following safety conditions:
Firstly, the “lock-out/tag-out” principle of separating the transformer from the electrical system or technical system should be adopted. This includes cutting off the power supply, closing the isolation valve to release the pressure in the system, and placing locks and labels on the equipment to prevent accidental restart during the work. Secondly, to avoid contact with hazardous media, debris, or electric shocks, appropriate personal protective equipment such as protective glasses, resistant gloves, safety suits, etc. should be used. In enclosed spaces or high-risk areas, additional safety measures such as gas detection and backup observers may also be necessary.
In addition to safety standards, technicians must also possess the tools and equipment necessary for maintenance and warranty work. The main tools include calibrating pressure checkers, multimeters for electrical signal testing, torque wrenches for ensuring secure connections, cleaning supplies, and replacement parts. Digital transmitters require the use of HART communication equipment or a laptop with appropriate software to access configuration parameters and diagnostic functions. It is important to confirm that all equipment is properly adjusted, in good condition, and that un-equipped tools will not lead to incorrect test results or maintenance errors.
Before the inspection begins, it is necessary to first confirm the current status of the pressure transmitter, understand the possibility of faults, and then formulate an intervention plan. The first step is to check the records of the transmitter, including previous calibration records, maintenance logs, and any reported problems. This information helps identify the most common errors and prioritize maintenance tasks.
Secondly, first check the external condition of the transmitter and its surrounding environment. Confirm obvious deformation signs such as cracks in the external casing, corrosion, or weakened connection parts. Ensure that the transmitter is installed correctly, and it is important to prevent water leakage at the technical connection and cable connector. Additionally, to ensure that the transmitter operates within the specified range and functions normally, it is also very important to check the operating conditions. If these conditions exceed this value, it may cause early wear and precision problems. By using Sunstrand transmitters, experts can perceive faults or communication issues of the sensor through the integrated diagnostic function, and can understand the internal defects before performing physical repairs.
The maintenance of pressure transmitters mainly involves the verification and calibration of the system. This section provides a detailed description of the cleaning and accurate correction of the transmitters, as well as the measurement methods required to confirm the presence of mechanical or electrical faults.
The first step of the inspection process is to conduct a comprehensive examination of the appearance and the surrounding environment. The purpose of this stage is to identify any external issues that may affect the operation of the transmitter, such as physical damage, contamination, or environmental impacts.
Cables and connections are critical for transmitting accurate signals from the transmitter to the control system. Inspect the signal cable for signs of damage, such as cuts, abrasions, or insulation wear, which can lead to signal interference or short circuits. Check the cable entry gland for tightness to prevent moisture, dust, or debris from entering the transmitter housing—moisture intrusion is a common cause of internal component failure.
Next, verify the integrity of electrical connections. Ensure that terminal screws are tight and free from corrosion or oxidation, which can cause poor electrical contact and signal errors. For wired transmitters, check the polarity of the power supply to ensure it matches the transmitter’s specifications—reverse polarity can damage the internal circuitry. For wireless transmitters, inspect the antenna connection and signal strength to ensure reliable communication. Additionally, check the grounding connection to prevent electromagnetic interference (EMI) from nearby equipment, which can distort the transmitter’s output signal.
Proper mounting is essential for accurate pressure measurement and transmitter longevity. Inspect the mounting bracket or flange for signs of loosening, corrosion, or damage. A loose mount can cause vibration, which can degrade the accuracy of the sensing element and lead to mechanical fatigue over time. Tighten any loose fasteners using a torque wrench, taking care not to over-tighten, which can damage the mounting surface or transmitter housing.
Evaluate the mechanical stress on the transmitter, including strain from the process piping or cable pull. Ensure that the process connection is aligned properly and that there is no excessive bending or tension on the transmitter’s body. For transmitters mounted in high-vibration areas, check if vibration dampeners are installed—these can help reduce mechanical stress and extend the transmitter’s service life. Additionally, verify that the transmitter is mounted in a location free from extreme temperatures, direct sunlight, or exposure to corrosive gases or liquids, which can damage the housing and internal components.
Accuracy is the most critical performance parameter of a pressure transmitter. Over time, factors such as temperature changes, mechanical wear, and contamination can cause accuracy drift, leading to incorrect pressure readings and process inefficiencies. Accuracy verification involves comparing the transmitter’s output signal to a known, calibrated reference to identify any deviations.
Field calibration is the process of verifying and adjusting the transmitter’s accuracy on-site, without removing it from the process system. To ensure reliable results, follow these best practices:
First, ensure that the transmitter is isolated from the process system and that the pressure in the sensing element is relieved. Allow the transmitter to stabilize at the ambient temperature for at least 30 minutes before calibration—temperature changes can affect the accuracy of the sensing element and signal conditioning circuit. Use a calibrated pressure reference that has an accuracy rating significantly higher than the transmitter’s specified accuracy to ensure reliable comparisons.
When applying pressure to the transmitter, do so gradually to avoid damaging the sensing element. Take readings at three key points: zero pressure, 50% of the transmitter’s full scale, and 100% of full scale. Record the transmitter’s output signal at each point and compare it to the reference pressure. If the deviation exceeds the transmitter’s allowable error, calibration adjustments are required. For Sunstrand transmitters, use the HART communicator or built-in calibration buttons to make adjustments, ensuring that changes are made incrementally to avoid over-correction.
To ensure that your pressure transmitter meets industry standards and performance requirements, it is essential to benchmark its accuracy against established standards. The International Organization for Standardization (ISO) and the American National Standards Institute (ANSI) have developed standards for pressure transmitter accuracy, such as ISO 9001 and ANSI/ISA-51.1. These standards specify the allowable error margins for different types of transmitters and calibration methods.
When benchmarking, consider the transmitter’s application and process requirements. For critical applications, a higher accuracy standard may be required, while less critical applications may allow for a lower standard. Additionally, consider the environmental conditions—extreme temperatures, humidity, or vibration can affect accuracy, so benchmarking should be performed under the same conditions as the transmitter’s normal operation. For Sunstrand transmitters, the manufacturer provides detailed accuracy specifications and calibration guidelines to help maintain compliance with industry standards.
Calibration is the core process to ensure pressure transmitter accuracy, as even the most reliable pressure transmitters—including differential pressure transmitters, industrial pressure transmitters, and low cost pressure transmitters—can experience accuracy drift over time. This section outlines the step-by-step calibration process for pressure transmitters, covering pre-calibration preparation, adjustment procedures, and post-calibration documentation to maintain optimal performance across all transmitter types.
Before starting calibration for any pressure transmitter—whether it’s a differential pressure transmitter used for flow measurement, an industrial pressure transmitter in a harsh chemical plant, or a low cost pressure transmitter for non-critical monitoring—complete the following preparation steps to ensure accuracy and safety:
Isolate the transmitter from the process system using isolation valves and relieve any pressure in the sensing element. Implement LOTO procedures to ensure safety.
Disconnect the signal cable from the transmitter (if necessary) and connect the multimeter to measure the output signal (4-20 mA DC). For digital transmitters, connect the HART communicator to access configuration settings.
Validate the calibration equipment: Check that the pressure calibrator is calibrated and within its calibration interval. Verify that the calibrator’s pressure range matches the transmitter’s full scale. Test the multimeter to ensure it is accurate and functioning properly.
Allow the transmitter and calibration equipment to stabilize at ambient temperature for 30 minutes to eliminate temperature-related errors.
Record the transmitter’s current configuration settings in case adjustments need to be reversed.
Once preparation is complete, proceed with calibration adjustments, which vary slightly by transmitter type but follow the same core principles to preserve pressure transmitter accuracy. Below is the standard process applicable to all pressure transmitters, including differential pressure transmitters, industrial pressure transmitters, and low cost pressure transmitters:
Zero Calibration: Apply zero pressure to the transmitter. Monitor the transmitter’s output signal—for a 4-20 mA signal, the zero pressure should correspond to 4 mA. If the output deviates from 4 mA, use the HART communicator or built-in zero adjustment button to adjust the signal to 4 mA. Repeat this step twice to ensure stability.
Span Calibration: Apply the full-scale pressure to the transmitter using the calibrated pressure reference. Monitor the output signal—for a 4-20 mA signal, full-scale pressure should correspond to 20 mA. If the output deviates from 20 mA, adjust the span using the HART communicator or span adjustment button. After adjusting, recheck the zero pressure to ensure that span adjustment did not affect the zero point—if necessary, re-adjust the zero.
Mid-Scale Verification: Apply 50% of full-scale pressure to the transmitter and verify that the output signal is 12 mA. If the deviation exceeds the allowable error, recheck the zero and span adjustments.
Hysteresis Check: Apply pressure incrementally from zero to full scale, recording the output at each 25% interval. Then, decrease the pressure from full scale to zero, recording the output at the same intervals. The difference between the increasing and decreasing readings at each interval (hysteresis) should be within the transmitter’s allowable error.
After completing calibration, it is critical to document the results to ensure traceability, compliance, and consistent pressure transmitter accuracy for every pressure transmitter in your fleet—from high-precision differential pressure transmitters to cost-effective industrial pressure transmitters and low cost pressure transmitters. Document the following information:
Transmitter details: Model number, serial number, installation location, and process application.
Calibration date and time, and the name of the technician performing the calibration.
Calibration equipment details: Model number, serial number, and calibration interval.
Pre-calibration and post-calibration readings at zero, 50%, and 100% of full scale.
Any adjustments made and the final output values.
Environmental conditions during calibration.
Store the calibration records in a secure, accessible location for at least the transmitter’s service life. For regulated industries, these records may be required for audits or compliance checks. Additionally, update the transmitter’s maintenance log to include the calibration date and schedule the next calibration interval.
Different types of pressure transmitters have unique design features and operating requirements, so maintenance practices must be tailored to each type. The table below summarizes key maintenance focus areas for common pressure transmitter types, followed by detailed guidance for the two most widely used categories: differential pressure transmitters and industrial/low-cost transmitters.
|
Transmitter Type |
Key Application Scenarios |
Maintenance Focus Areas |
Recommended Calibration Interval |
|
Differential Pressure (DP) Transmitter |
Flow measurement, level monitoring, pressure difference detection |
Impulse line cleaning, three-valve manifold inspection, diaphragm seal check, pressure equalization |
Quarterly (critical applications); 6-12 months (general applications) |
|
Gauge Pressure Transmitter |
Tank pressure monitoring, process pressure control (relative to atmosphere) |
Zero calibration, housing sealing, cable connection integrity |
6-12 months (most applications); 3-6 months (harsh environments) |
|
Absolute Pressure Transmitter |
Vacuum systems, closed pressure vessels, aerospace applications |
Vacuum seal inspection, sensor contamination check, calibration against vacuum reference |
6-12 months (general applications); quarterly (high-precision requirements) |
|
Industrial & Low-Cost Transmitter |
Non-critical monitoring, general process oversight |
Basic visual inspection, cable protection, proactive part replacement |
Annual (general environments); 6 months (harsh environments) |
Differential pressure (DP) transmitters are widely used in flow measurement, level monitoring, and pressure difference applications. They measure the difference between two pressure points, making them more complex than gauge or absolute transmitters. Key maintenance considerations for DP transmitters include:
Clean the impulse lines: DP transmitters use impulse lines to connect the high and low pressure ports to the process system. These lines can become clogged with debris, sludge, or condensate, leading to inaccurate measurements. Regularly flush the impulse lines with a compatible solvent to remove contaminants. For applications with viscous or corrosive media, install a purge system or isolation diaphragm to prevent clogging and corrosion.
Check the three-valve manifold: Most DP transmitters are equipped with a three-valve manifold to isolate the transmitter during maintenance. Inspect the manifold for leaks, corrosion, or valve sticking. Ensure that the valves operate smoothly and that the balance valve is properly seated when isolating the transmitter. Replace any worn or damaged valves to prevent pressure leaks.
Verify equalization: When performing zero calibration, ensure that the high and low pressure ports are equalized (by opening the balance valve) to eliminate any pressure difference. This ensures accurate zero adjustment and prevents damage to the sensing element from unequal pressure.
Inspect the diaphragm seal: Many DP transmitters use diaphragm seals to protect the sensing element from corrosive or viscous media. Check the diaphragm for damage, corrosion, or leakage. Replace the seal if it shows signs of wear or damage, as a faulty seal can lead to inaccurate measurements and sensor failure.
Industrial and low-cost pressure transmitters are commonly used in non-critical applications where cost is a primary consideration. While these transmitters are simpler in design, they still require regular maintenance to ensure reliability. Key optimization tips include:
Prioritize basic maintenance: Focus on the fundamentals—visual inspections, cable checks, and periodic calibration. Even low-cost transmitters can experience accuracy drift, so calibration should be performed at least annually.
Protect from environmental damage: Low-cost transmitters often have lower environmental protection ratings, so they are more vulnerable to moisture, dust, and extreme temperatures. Install protective enclosures or shields to protect the transmitter from these elements. Avoid mounting them in areas with high vibration or exposure to corrosive media.
Replace worn parts proactively: Low-cost transmitters may use lower-quality components, so wear and tear can occur more quickly. Regularly inspect O-rings, gaskets, and cables for signs of damage and replace them proactively to prevent failures. Use compatible replacement parts to ensure proper fit and performance.
Simplify calibration: Many low cost pressure transmitters do not support HART or digital communication, so calibration must be done manually. Use a simple pressure calibrator and multimeter to verify pressure transmitter accuracy and make adjustments. Keep calibration records simple but comprehensive, focusing on key readings and adjustments to ensure the low cost pressure transmitter performs reliably for its intended application.
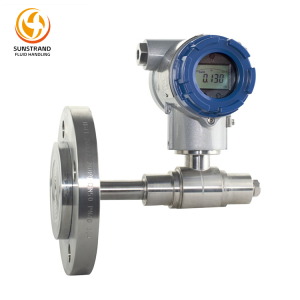
Proactive maintenance is key to maximizing the performance and longevity of pressure transmitters. The following case studies highlight how Sunstrand customers have implemented proactive maintenance strategies to reduce downtime, improve accuracy, and lower maintenance costs.
A major oil and gas company operates a 500-mile pipeline network that transports crude oil across multiple states. The network relies on 200 Sunstrand differential pressure transmitters to monitor flow rates and pressure levels, critical for ensuring pipeline safety and efficiency. Prior to implementing a proactive maintenance program, the company experienced frequent transmitter failures due to clogging of impulse lines, accuracy drift, and corrosion—resulting in unplanned downtime and costly repairs.
The company partnered with Sunstrand to develop a proactive maintenance program tailored to their pipeline application. The program included:
Monthly visual inspections of all transmitters, focusing on impulse line clogging, cable integrity, and mounting stability.
Quarterly flushing of impulse lines to remove sludge and debris, using a specialized solvent compatible with crude oil.
Semi-annual calibration of all transmitters, using Sunstrand’s calibrated pressure reference tools and HART communicators to ensure accuracy.
Replacement of diaphragm seals every 18 months to prevent corrosion and leakage.
After implementing the program, the company saw a 75% reduction in transmitter failures, a 40% reduction in unplanned downtime, and a 30% decrease in maintenance costs. The transmitters’ accuracy improved by 25%, ensuring more reliable flow rate monitoring and reducing the risk of pipeline overpressure incidents. Additionally, the proactive replacement of diaphragm seals eliminated the need for emergency repairs, further reducing operational disruptions.
A large manufacturing plant specializing in chemical processing uses over 500 Sunstrand pressure transmitters across its production lines, including gauge, absolute, and differential pressure models. The plant previously used a reactive maintenance approach, repairing or replacing transmitters only when they failed—leading to inconsistent performance, product quality issues, and high maintenance costs.
To address these challenges, the plant implemented a Sunstrand-powered fleet management program, which included:
A centralized maintenance dashboard to track the performance, calibration status, and maintenance history of each transmitter.
Scheduled maintenance intervals based on the transmitter’s application.
Remote diagnostics using Sunstrand’s HART-enabled transmitters to identify potential issues before they lead to failures.
Training for maintenance technicians on Sunstrand-specific maintenance procedures, including calibration and troubleshooting.
The results were significant: the plant saw a 60% reduction in transmitter failures, a 25% improvement in product quality, and a 35% reduction in maintenance costs. The centralized dashboard allowed the plant to prioritize maintenance tasks, ensuring that critical transmitters were maintained first, while the remote diagnostics feature reduced the need for on-site inspections, saving time and resources. Additionally, the plant extended the average service life of its transmitters from 5 years to 8 years, further reducing replacement costs.
Even with proactive maintenance, pressure transmitters may experience issues from time to time. This section outlines common maintenance issues, their causes, and step-by-step troubleshooting procedures to resolve them quickly.
Accuracy drift and signal errors are the most common issues with pressure transmitters. Common causes include:
Contamination of the sensing element.
Temperature changes affecting the signal conditioning circuit.
Loose or corroded electrical connections.
Calibration drift.
EMI from nearby equipment.
Troubleshooting steps:
Verify the calibration: Check if the pressure transmitter—whether it’s a differential pressure transmitter, industrial pressure transmitter, or low cost pressure transmitter—is due for calibration. If so, perform a full calibration to see if the drift is resolved, as outdated calibration is a common cause of reduced pressure transmitter accuracy.
Inspect the sensing element: If calibration does not resolve the issue, remove the transmitter and inspect the sensing element for contamination or damage. Clean the element with a compatible solvent or replace it if necessary.
Check electrical connections: Inspect terminal screws, cable connections, and grounding for looseness or corrosion. Tighten loose connections and clean corroded terminals with a wire brush.
Test for EMI: Move the signal cable away from high-voltage equipment or motors. If EMI is suspected, install a shielded cable or EMI filter to reduce interference.
Check temperature conditions: Ensure that the transmitter is operating within its specified temperature range. If the environment is too hot or cold, install a heat shield or insulation to stabilize the temperature.
Performance interruptions (such as no output signal, erratic readings, or complete failure) can be caused by a variety of issues, including:
Power supply failure.
Leaks in the process connection or impulse lines.
Mechanical damage to the transmitter housing or sensing element.
Internal component failure.
Troubleshooting steps:
Check the power supply: For wired transmitters, use a multimeter to verify that the power supply is within the transmitter’s specified range (typically 24 VDC). Check for loose or disconnected power cables.
Inspect for leaks: Check the process connection, impulse lines, and valve manifold for leaks. Use a leak detector or soapy water to identify small leaks. Repair or replace worn gaskets, O-rings, or valves as needed.
Inspect for mechanical damage: Check the transmitter housing for cracks, dents, or corrosion. If the housing is damaged, replace it to protect internal components. Inspect the sensing element for physical damage and replace if necessary.
Test internal components: For digital transmitters, use a HART communicator to run diagnostic tests and identify internal component failures. If the circuit board or sensor is faulty, replace the component or the entire transmitter.
Verify process conditions: Ensure that the process pressure is within the transmitter’s full scale. If the pressure exceeds the transmitter’s range, it can cause damage to the sensing element and lead to performance interruptions.
Proactive maintenance is the key to maximizing the service life of pressure transmitters. By implementing the following tips, you can extend the longevity of your transmitters, reduce maintenance costs, and ensure consistent performance.
One of the most important proactive maintenance practices is establishing scheduled maintenance intervals tailored to your transmitters’ applications and operating conditions. The interval should be based on:
The transmitter’s accuracy requirements.
The operating environment.
The manufacturer’s recommendations.
Create a maintenance schedule that includes visual inspections, calibration, cleaning, and part replacement. Use a maintenance management system (MMS) to track scheduled tasks and ensure they are completed on time. For example, transmitters in chemical processing plants may require monthly visual inspections, quarterly calibration, and annual part replacement, while transmitters in non-critical applications may require quarterly visual inspections and annual calibration.
Modern digital pressure transmitters offer advanced monitoring and diagnostic features that can help you identify potential issues before they lead to failures. Implement digital monitoring by:
Connecting transmitters to a centralized control system or MMS to monitor real-time performance data.
Setting up alerts for abnormal conditions, such as accuracy drift, signal errors, or high pressure. Alerts can be sent via email, text, or the control system dashboard, allowing technicians to respond quickly.
Using remote diagnostics to access transmitter configuration settings and perform basic troubleshooting without being on-site. This saves time and reduces the need for unnecessary site visits.
Digital monitoring allows you to move from reactive to proactive maintenance, reducing unplanned downtime and extending the transmitter’s service life. For example, Sunstrand’s transmitters can send alerts when accuracy drift exceeds a specified threshold, allowing technicians to perform calibration before the drift affects process performance.
Using high-quality replacement parts is critical for maintaining the performance and longevity of pressure transmitters. Low-quality parts can lead to leaks, accuracy issues, and premature failure, increasing maintenance costs in the long run.
When replacing parts, use genuine Sunstrand parts or parts from reputable manufacturers that meet the transmitter’s specifications. Genuine parts are designed to fit perfectly and withstand the operating conditions of the transmitter, ensuring reliable performance. Key parts to replace proactively include O-rings, gaskets, diaphragm seals, and cables. Additionally, invest in high-quality calibration equipment to ensure accurate measurements during maintenance—uncalibrated or low-quality equipment can lead to incorrect adjustments and reduced transmitter performance.
Pressure transmitters are critical components of industrial process control systems, and their reliable performance is essential for operational safety, product quality, and efficiency. By following the step-by-step maintenance guide outlined in this blog, you can ensure that your pressure transmitters remain accurate, reliable, and long-lasting. From pre-maintenance preparation and safety protocols to detailed inspection, calibration, and troubleshooting, each step plays a vital role in maximizing the transmitter’s performance.
Targeted maintenance for specific transmitter types and proactive strategies can further extend the transmitter’s service life and reduce maintenance costs. The Sunstrand case studies demonstrate the tangible benefits of proactive maintenance—reduced downtime, improved accuracy, and lower costs—for organizations across industries.
Remember, maintenance is not a one-time task but an ongoing process. By prioritizing regular maintenance, staying vigilant for potential issues, and following best practices, you can minimize operational disruptions, ensure compliance with industry standards, and get the most value from your pressure transmitter investment. Whether you are a maintenance technician, plant operator, or engineering professional, this guide provides the knowledge and tools you need to implement effective pressure transmitter maintenance practices.
Q1: How often should I calibrate my pressure transmitter?
A1: The calibration interval depends on the transmitter’s application, operating environment, and accuracy requirements. Sunstrand recommends calibration every 6-12 months for most applications. For critical applications, calibration should be performed quarterly. In harsh environments, shorten the interval to 3-6 months. Always refer to the manufacturer’s guidelines for specific recommendations.
Q2: What is the difference between field calibration and bench calibration?
A2: Field calibration is performed on-site, without removing the transmitter from the process system. It is ideal for routine maintenance and quick adjustments, as it minimizes downtime. Bench calibration involves removing the transmitter from the process and calibrating it in a controlled laboratory environment. It is more accurate than field calibration and is recommended for transmitters with severe accuracy drift or after major repairs.
Q3: How do I know if my pressure transmitter needs to be replaced?
A3: Signs that a transmitter needs replacement include: frequent accuracy drift that cannot be corrected by calibration, physical damage to the housing or sensing element, internal component failure, and repeated performance interruptions. Additionally, if the transmitter is older than its design life and requires frequent repairs, replacement is more cost-effective than ongoing maintenance.
Q4: Can I use generic replacement parts for my Sunstrand pressure transmitter?
A4: It is not recommended. Generic parts may not meet Sunstrand’s specifications for fit, material, or performance, leading to leaks, accuracy issues, and premature failure. Always use genuine Sunstrand replacement parts or parts from reputable manufacturers that are certified to be compatible with Sunstrand transmitters. This ensures reliable performance and extends the transmitter’s service life.
Q5: How do I troubleshoot a pressure transmitter with no output signal?
A5: Start by checking the power supply—use a multimeter to verify that the voltage is within the transmitter’s specified range and that the power cables are securely connected. Next, inspect the electrical connections for looseness or corrosion. If the power supply is intact, check for leaks in the process connection or impulse lines, which can cause the sensing element to fail. For digital transmitters, use a HART communicator to run diagnostic tests and identify internal component failures. If all else fails, replace the transmitter or contact Sunstrand technical support for assistance.
Q6: What factors affect pressure transmitter accuracy the most?
A6: The primary factors affecting pressure transmitter accuracy include environmental conditions, contamination of the sensing element, outdated calibration, loose or corroded electrical connections, and mechanical stress from improper mounting. For differential pressure transmitters, clogged impulse lines or faulty diaphragm seals also significantly impact accuracy.
Q7: Is there a difference in calibration process between differential pressure transmitters and low cost pressure transmitters?
A7: The core calibration principles are the same for all pressure transmitters. However, differential pressure transmitters require additional steps, such as equalizing the high and low pressure ports during zero calibration and cleaning impulse lines beforehand. Low cost pressure transmitters often lack digital communication features, so calibration must be done manually with basic tools like a pressure calibrator and multimeter, and documentation can be simplified.
Q8: How can I prevent moisture intrusion in my industrial pressure transmitter?
A8: To prevent moisture intrusion, ensure the cable entry gland is tightly secured to the transmitter housing. Use shielded, water-resistant cables suitable for industrial environments. Mount the transmitter in a location protected from direct rain, snow, or high humidity—install a protective enclosure if needed. For transmitters in wet or corrosive areas, choose models with a high IP rating and regularly inspect the housing for cracks or damage that could allow moisture to enter.
Q9: Can I calibrate a pressure transmitter without specialized tools?
A9: While basic checks can be done with simple tools, accurate calibration requires specialized equipment. A calibrated pressure reference with higher accuracy than the transmitter is essential to verify readings. For digital transmitters, a HART communicator is needed to access configuration settings and make adjustments. Using uncalibrated or non-specialized tools will lead to inaccurate calibration and reduced pressure transmitter accuracy.
Q10: What maintenance steps are unique to industrial pressure transmitters used in harsh chemical environments?
A10: Industrial pressure transmitters in harsh chemical environments require extra maintenance steps, including regular inspection and replacement of corrosion-resistant diaphragm seals, frequent flushing of impulse lines to remove chemical residues, use of chemical-compatible cleaning solvents, and installation of purge systems to prevent clogging. Additionally, calibration intervals should be shortened to 3-6 months, and the transmitter housing should be inspected regularly for corrosion or damage from chemical exposure.